IT band syndrome exercises to avoid (and what runners should focus on instead)


The best exercises for IT band syndrome:
- address the underlying cause
- without placing extra strain on the injured area.
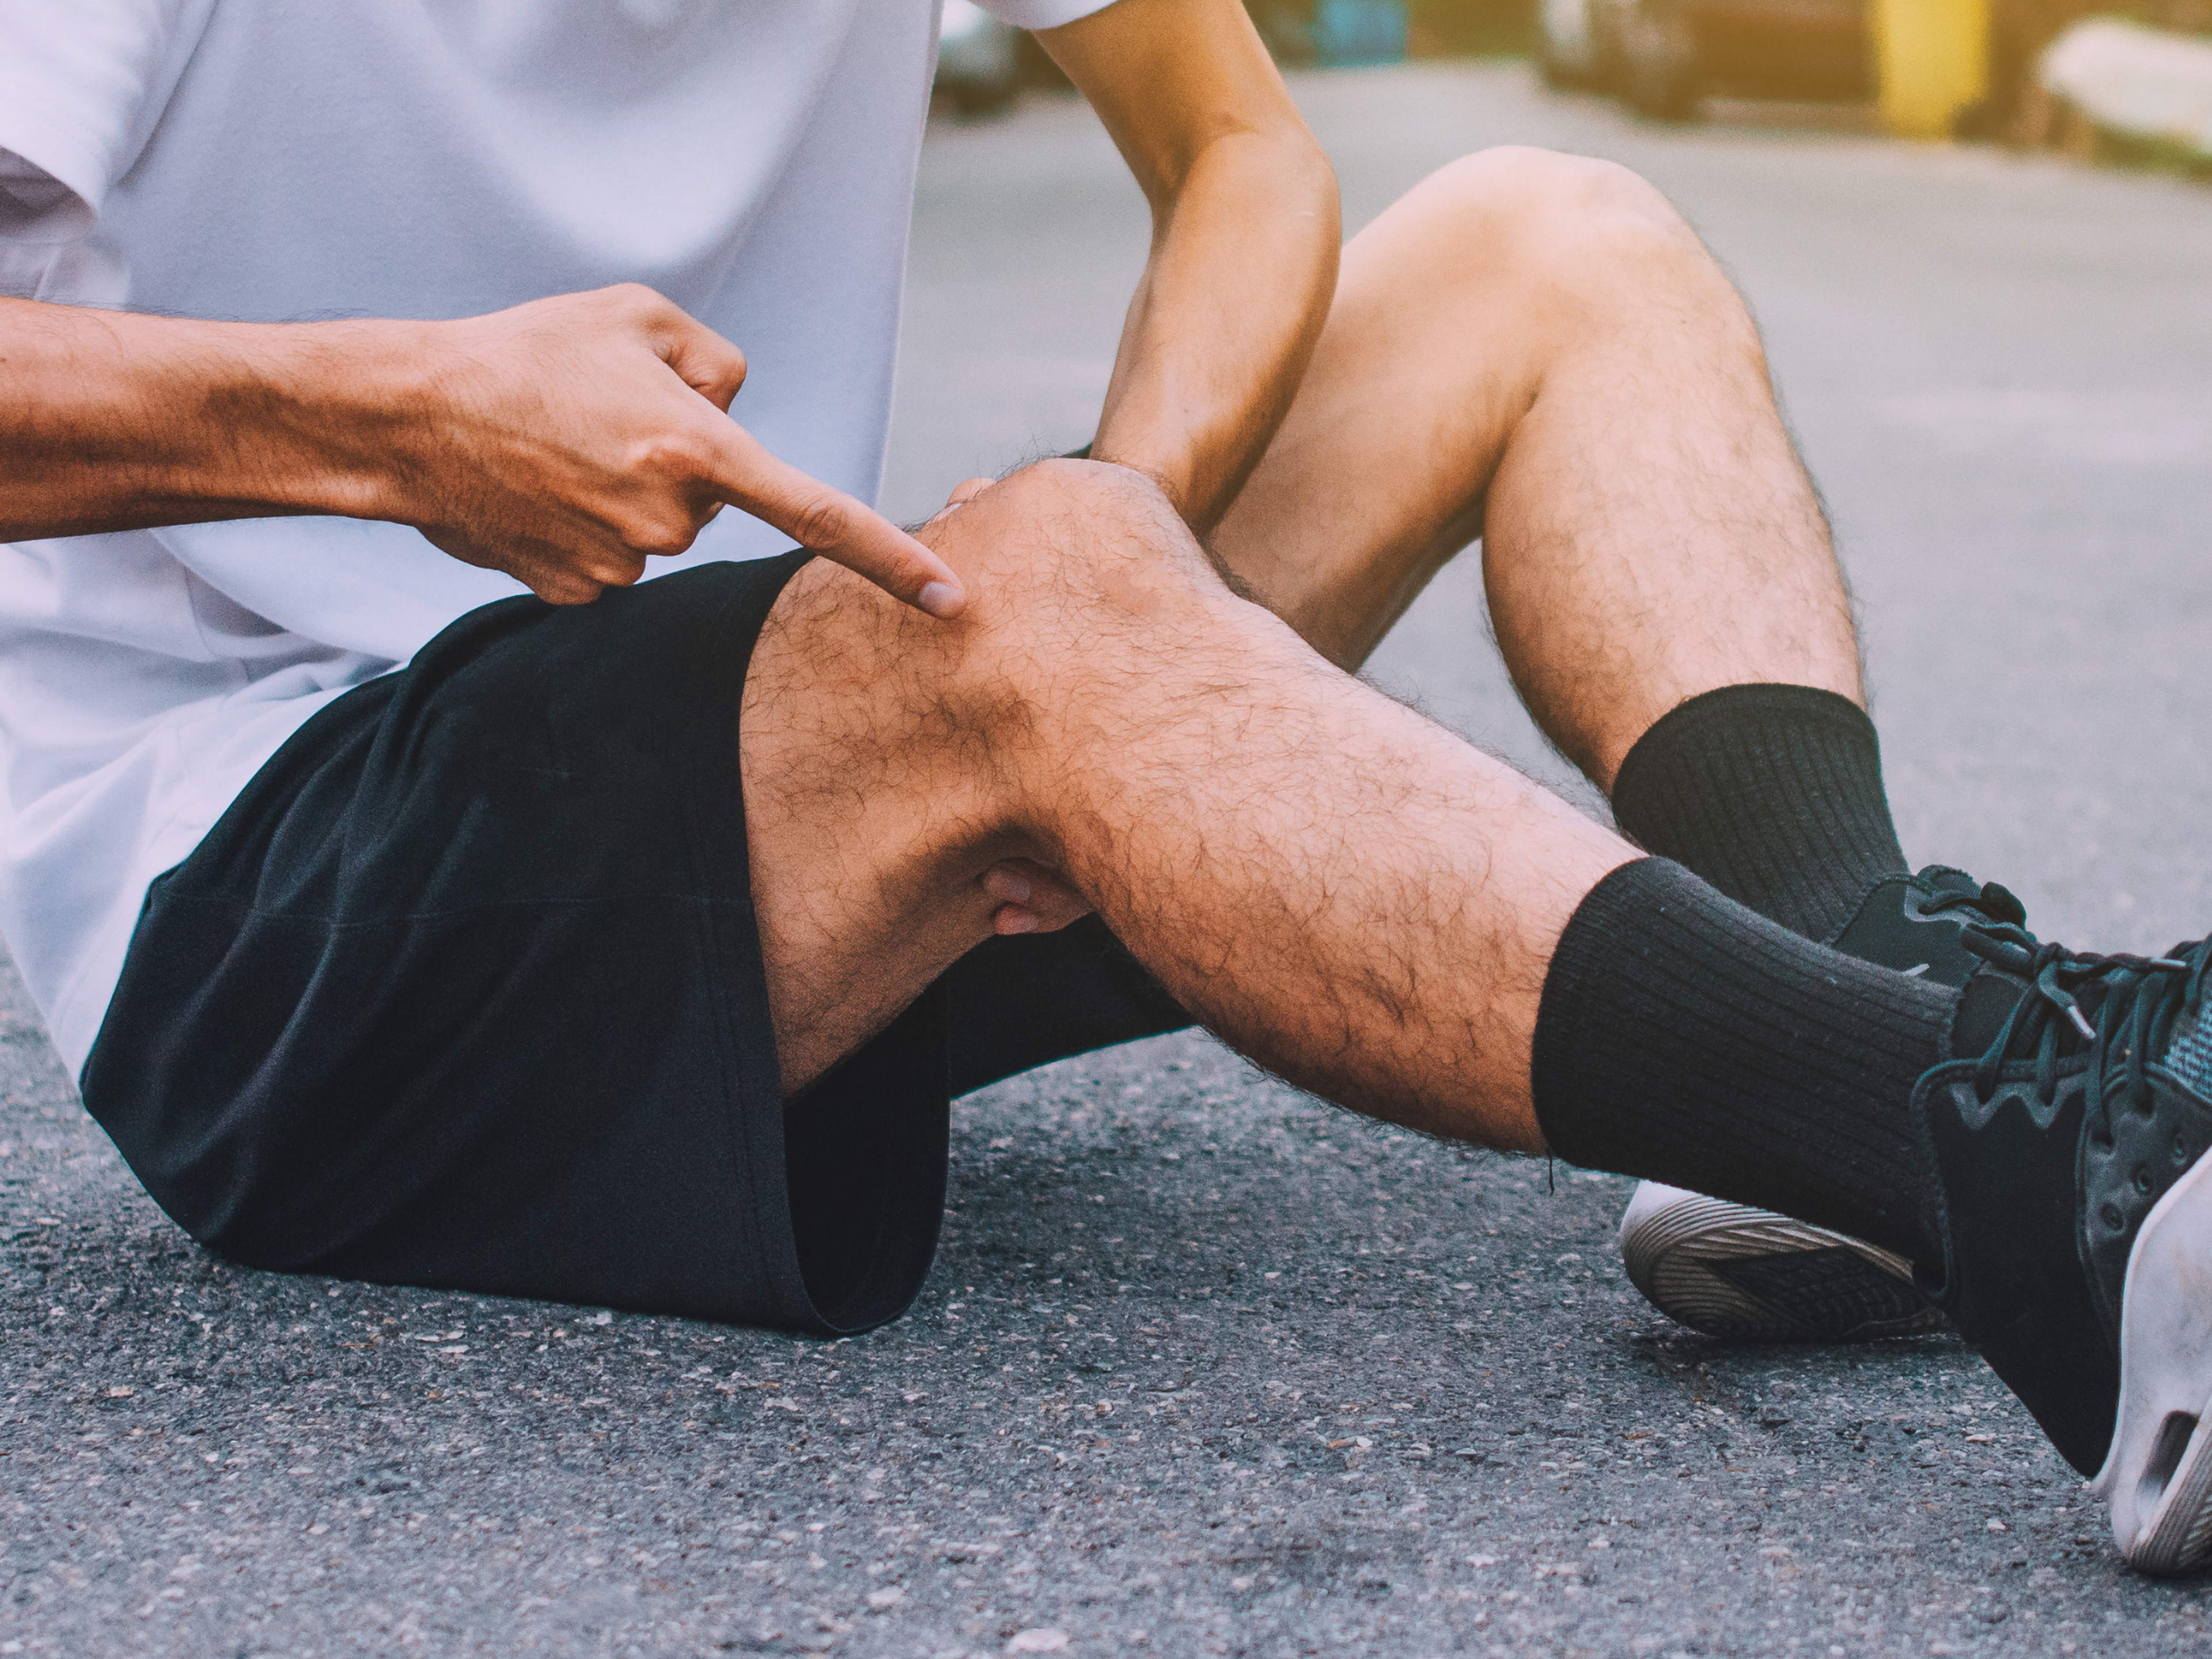
IT band syndrome is usually caused (and aggravated) by your IT band being pulled too tight, which results in compression of the band and structures beneath it.
Factors that can increase the pull on your IT band
You can find a detailed discussion on the causes of IT band syndrome and what treatments work best here.
So, the most effective exercises for IT band syndrome rehab are those that address the above factors.
Broadly, these include exercises that:
- Strengthen weak muscles
- Stretch tight muscles
- Improve your hip, knee, and ankle position
It's important that the exercises you choose to correct these factors match your IT band's stage of recovery. Many of the exercises that are vital during the later stages of recovery can actually make your IT band feel a lot worse if you do them too early.


IT band syndrome exercises to avoid
1. Exercises with repetitive knee bending and straightening
Your IT band compresses the side of your knee hardest when it's slightly bent (at about 30 degrees).
This is why repetitive bending and straightening activities that work your knee at that angle often cause more pain when you have IT band syndrome.
What to avoid
- Any exercise that repetitively moves the knee through flexion and extension, e.g., squats, lunges, leg extension machine in the gym
✅What to do instead
- First, focus on exercises that don't move your knee through that range (see examples below).
- Only introduce these exercises later in your rehab, once your knee has calmed down.
2. Strong IT band stretching
Stretches are essential in IT band syndrome treatment. However, some stretch positions can increase the compression of your IT band on your outer knee, which may increase your pain.
What to avoid
- Strong side bending or side leg stretches (often called IT band stretches) that pull the IT band tight over the outer knee.
✅What to do instead
- Start with gentle stretches for the muscles that attach to the IT band without tensioning the band itself (see examples below).
- Gently ease into the stronger stretches as your knee recovers.
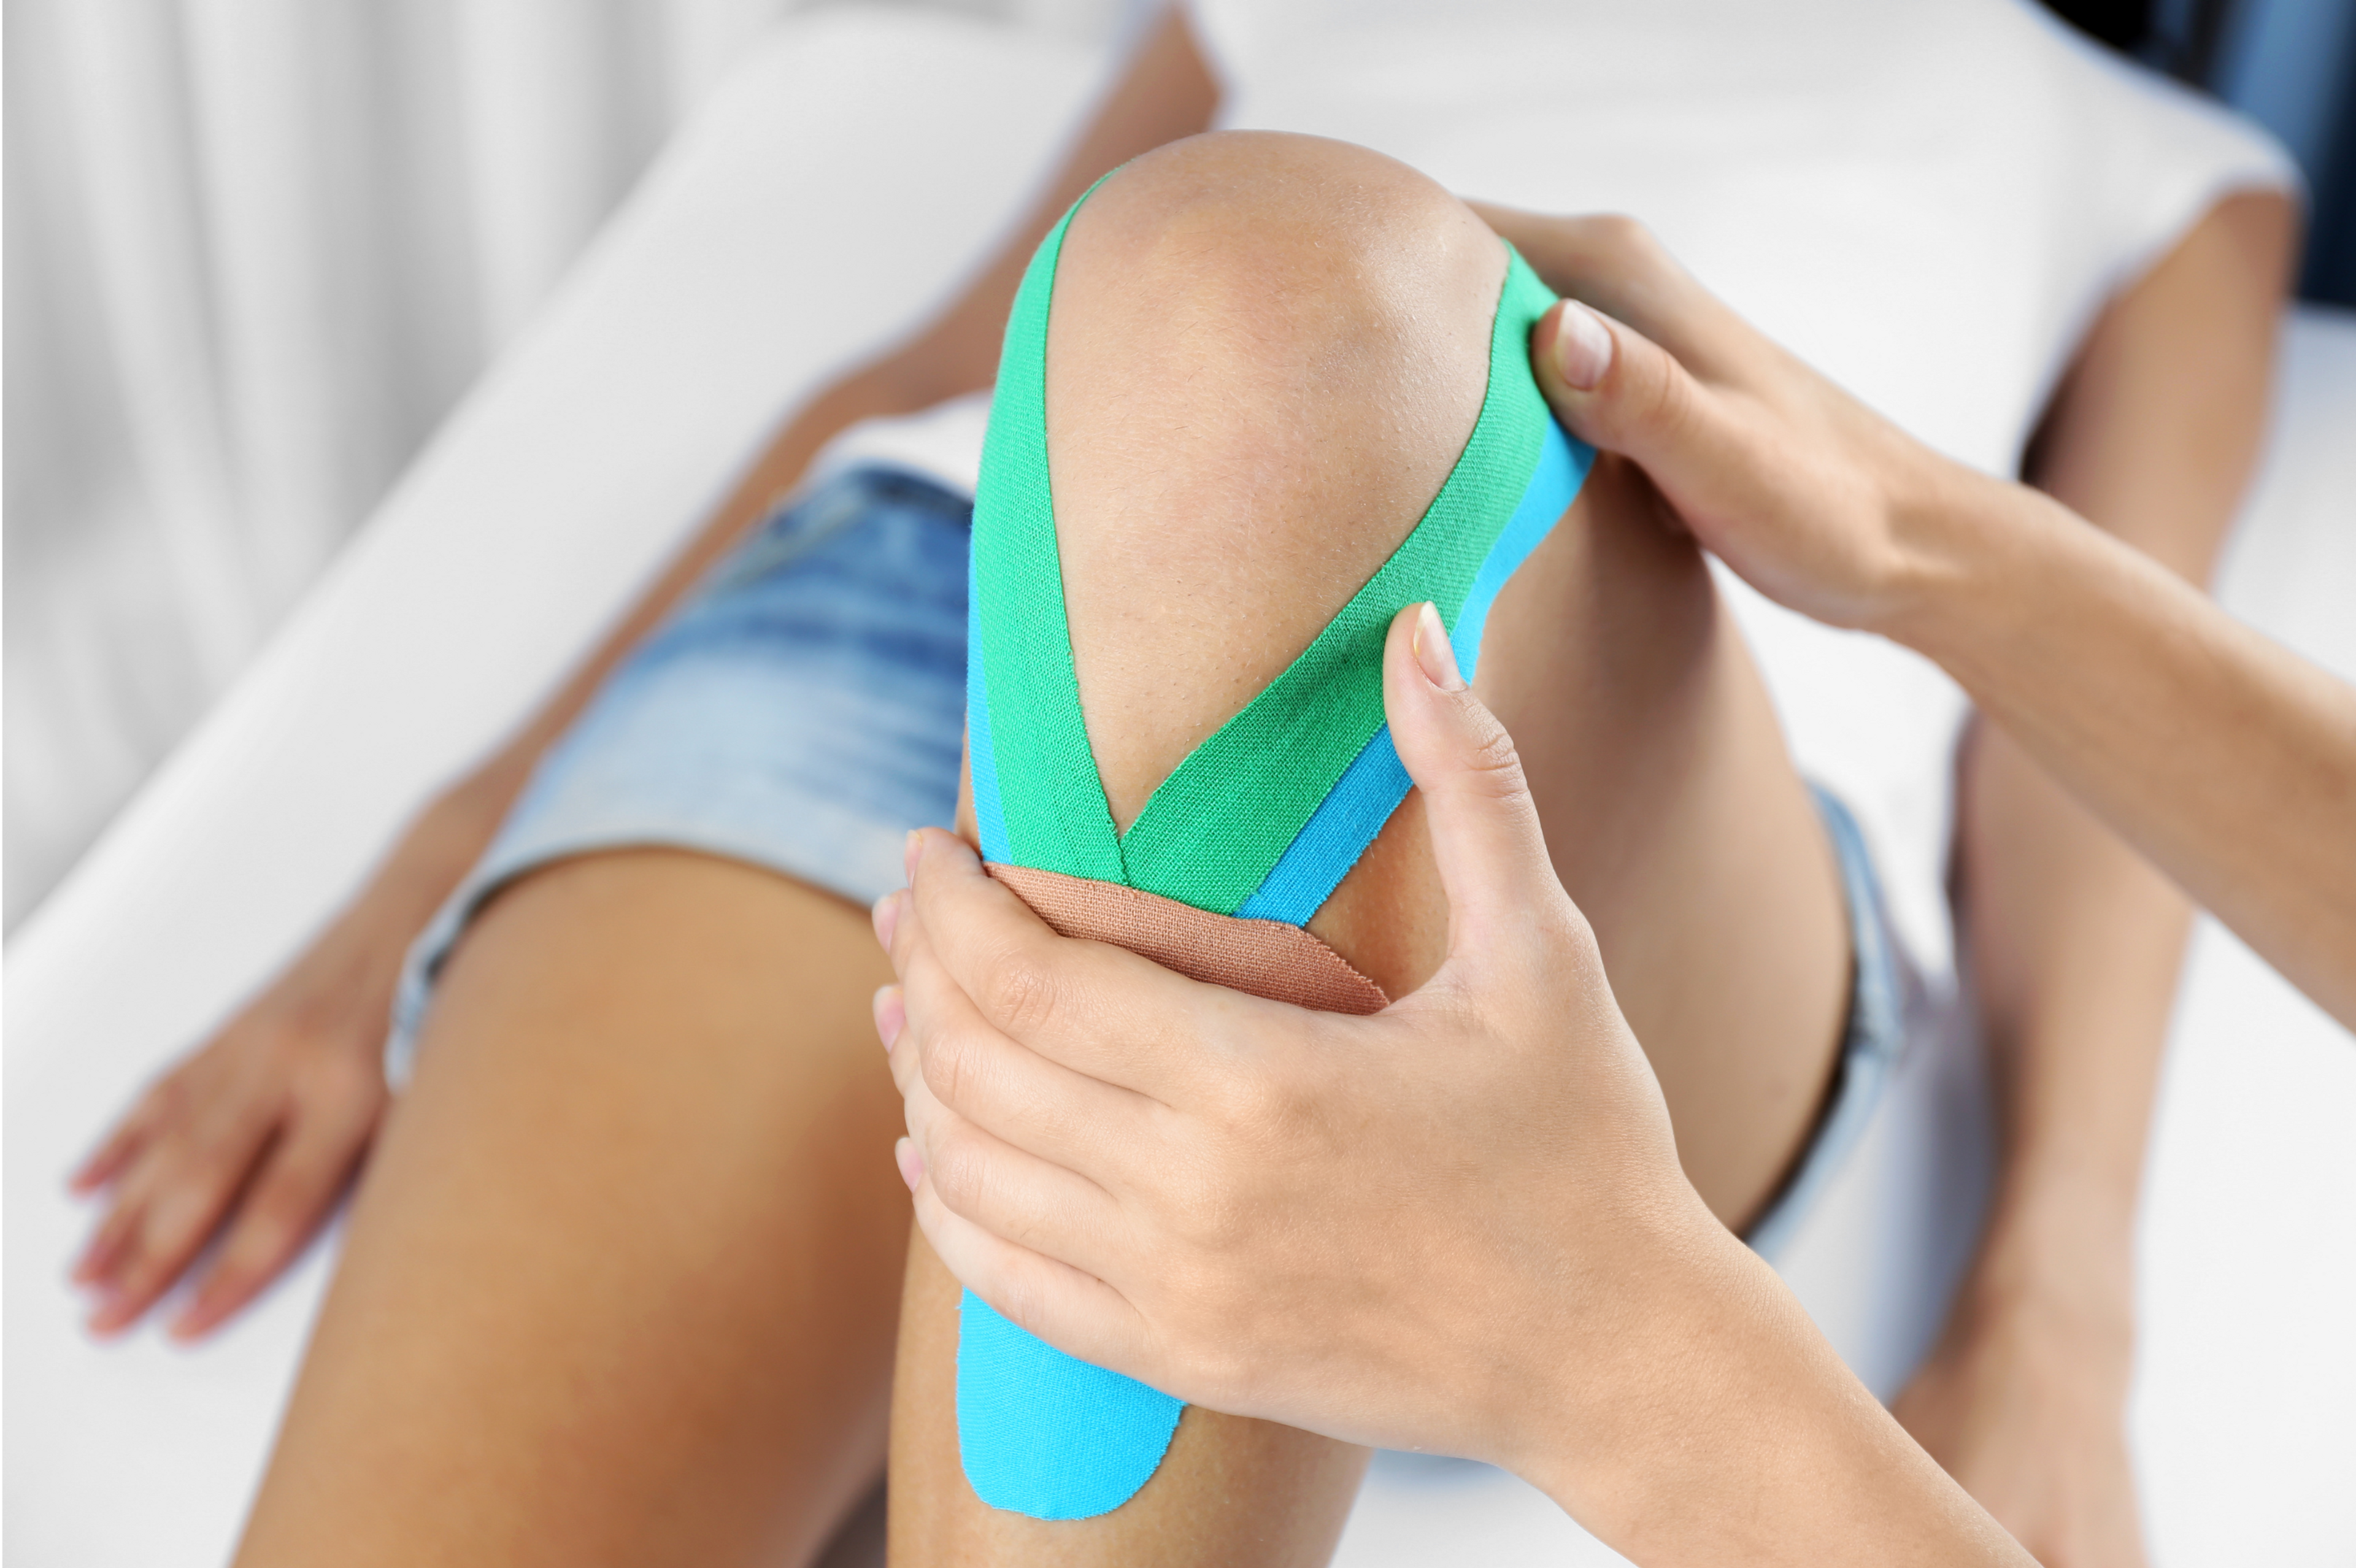
3. Exercises that cause direct pressure on your IT band
Applying heavy pressure to the injured IT band area can irritate your injury and aggravate your symptoms.
What to avoid
- When using exercise tools like resistance bands or foam rollers, avoid placing them over the injured area.
✅What to do instead
- Move resistance bands up or down your legs until they feel comfortably positioned. Ensuring they are flat and not rolled into a tight sausage can further decrease the pressure.
- Foam roll your quads and glutes, but avoid the IT band.
We've designed the IT band rehabilitation plan in the Exakt Health app to guide you through the rehab process. It starts with exercises that don't load your knee directly (to allow it to heal), then gradually increases the intensity and load as your knee heals.

The best exercises for IT band syndrome
The best exercises are ones that:
- Correct the underlying cause of your IT band syndrome (muscle weakness, tightness, or poor control)
- If your knee is still very sensitive, start in positions that don't load it directly
- Progress in complexity and load as your knee recovers until you've built the strength and control needed for running
Here are some exercise examples for the different stages of rehab.
See the "Tips" sections for how each exercise helps IT band syndrome recovery.
Hip exercise examples for IT band syndrome
Ankle exercise examples for IT band syndrome
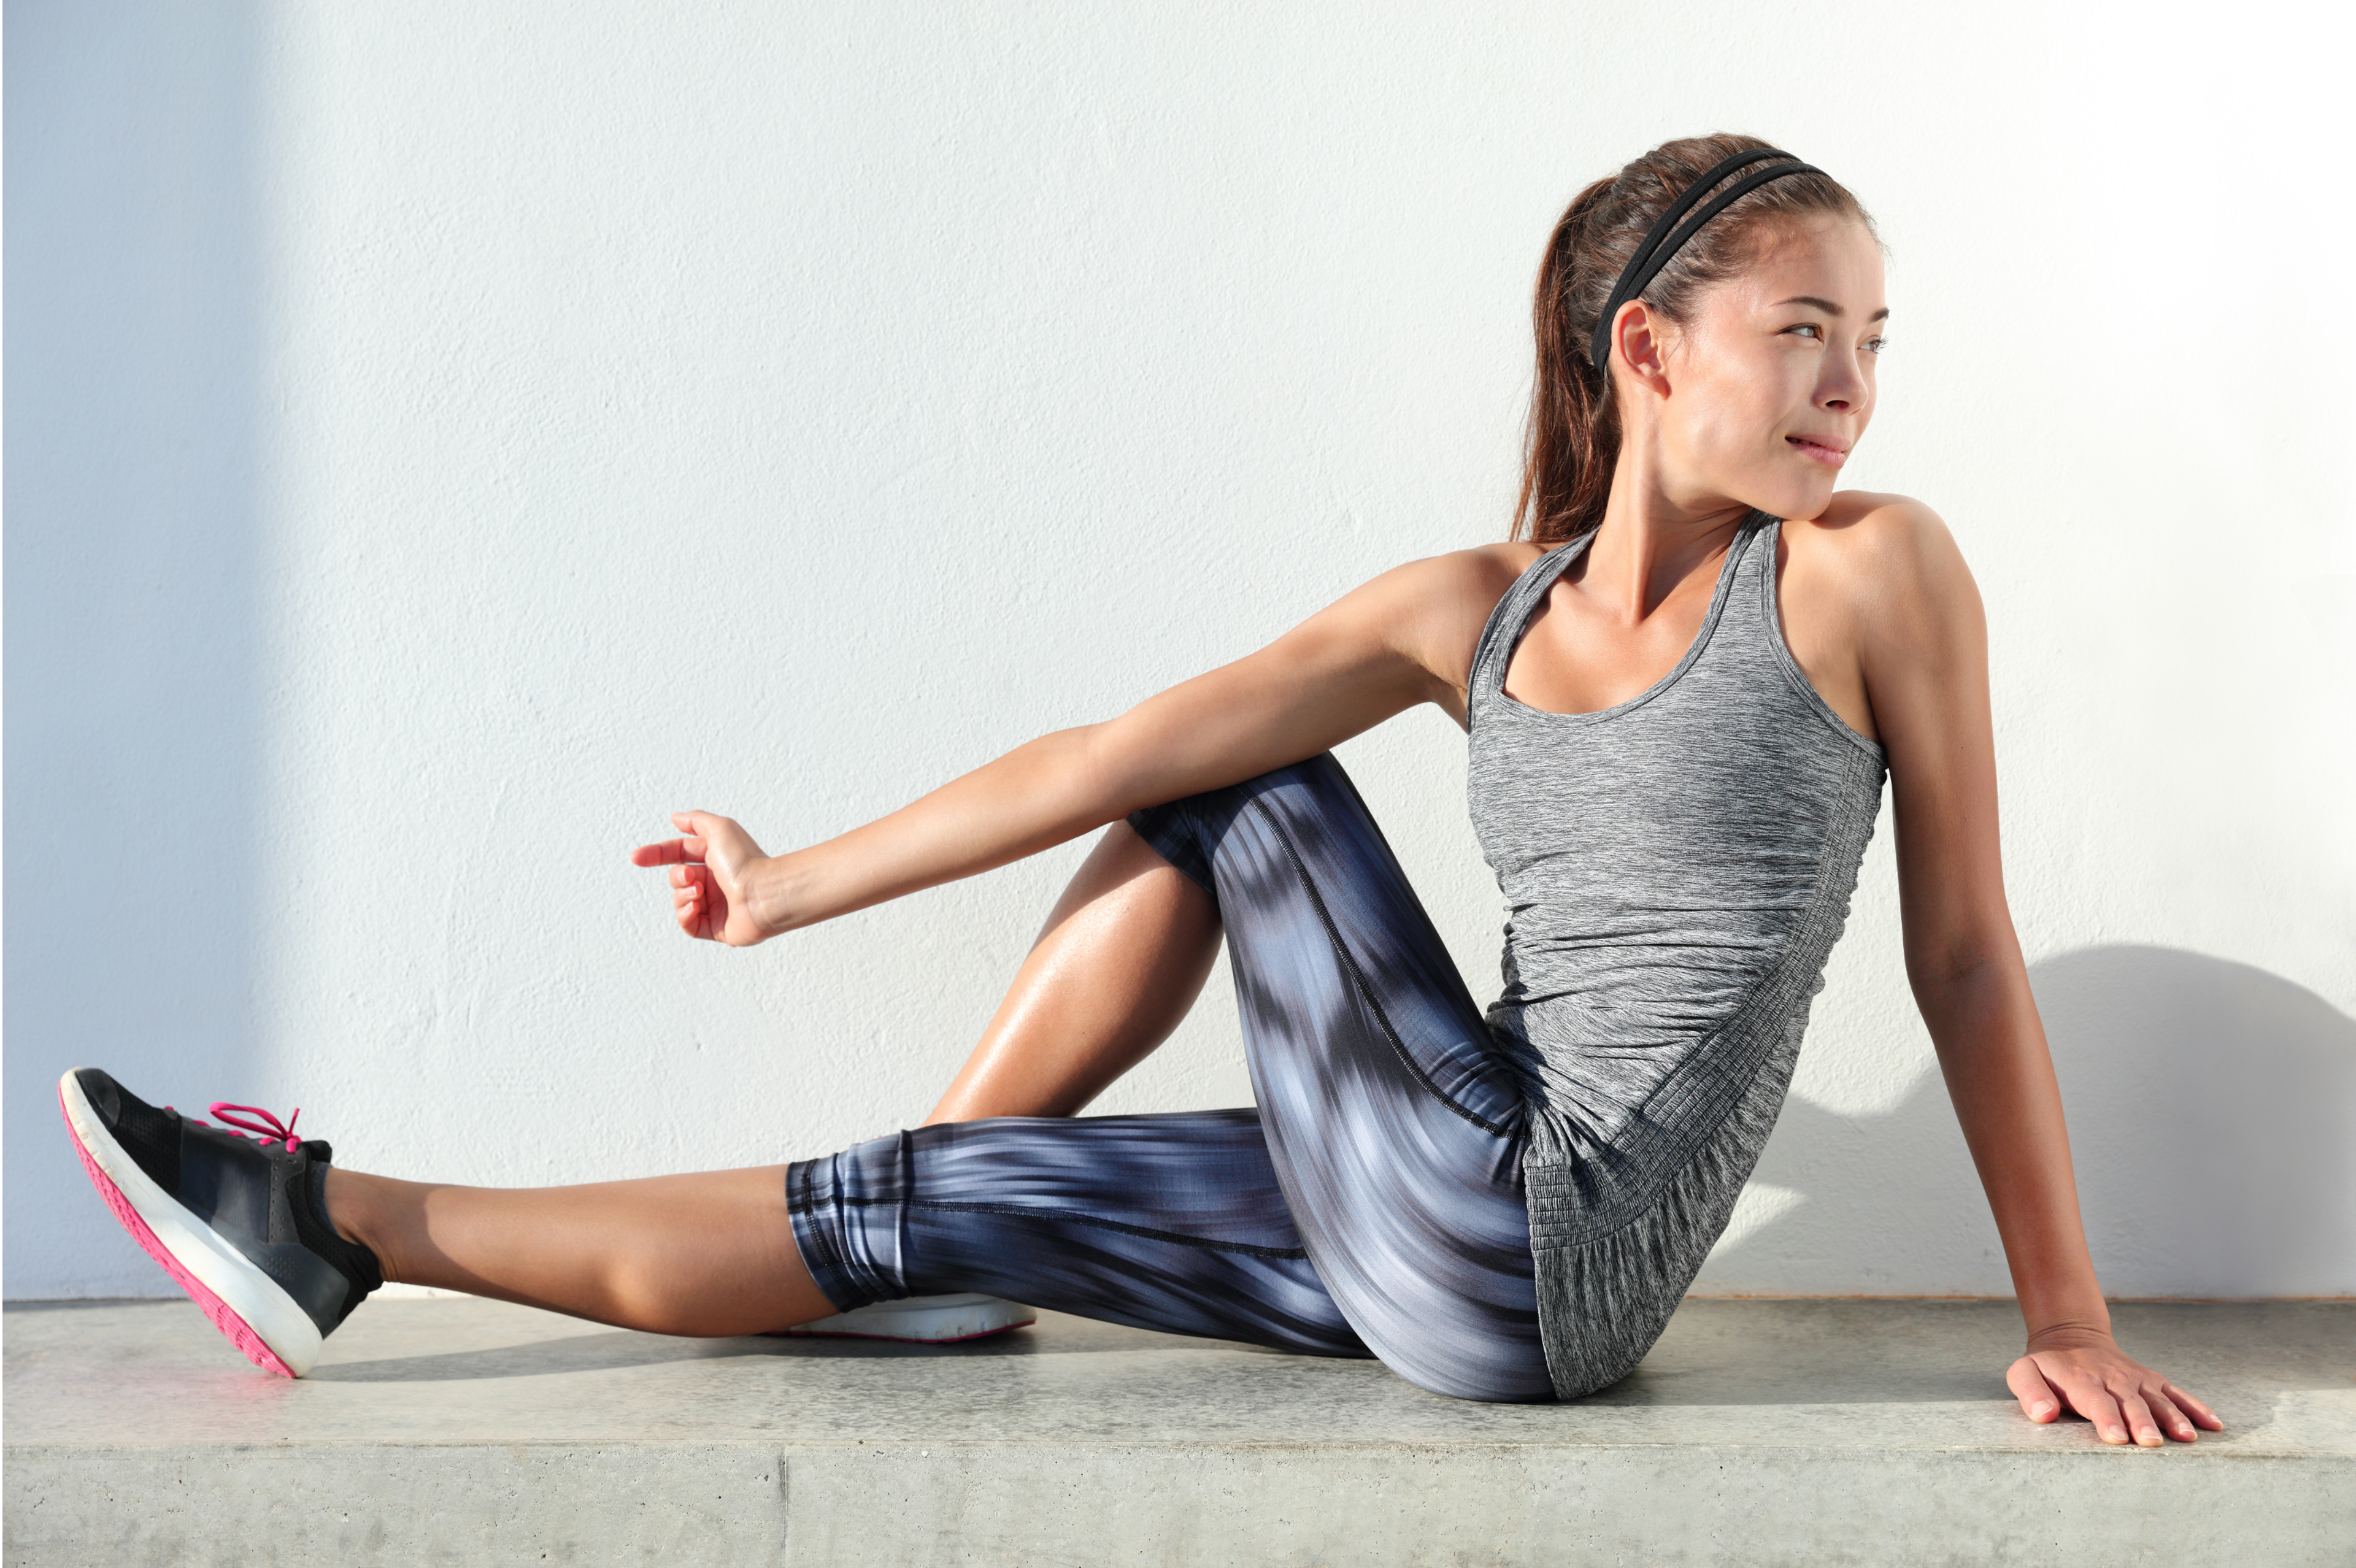
Stretches for IT band syndrome
Need more help with your rehab? The Exakt Health app provides tailored exercise guidance and support to help you confidently progress through your rehabilitation plan. You can start using it at any stage of recovery, and it will adjust your plan according to your feedback.
How to use pain to guide your rehab exercises
Limiting your exercises to what you can do with minimal to no discomfort is best.
For example, it is usually OK to feel a "niggle," or a 1 out of 10-level of discomfort (where 0 equals no pain and 10 is severe pain) during your exercises. But anything higher than this will likely irritate your injury.
Sometimes, an injury may have a delayed symptom response. Therefore, you should also consider the 24-hour symptom response when deciding whether an exercise is OK.
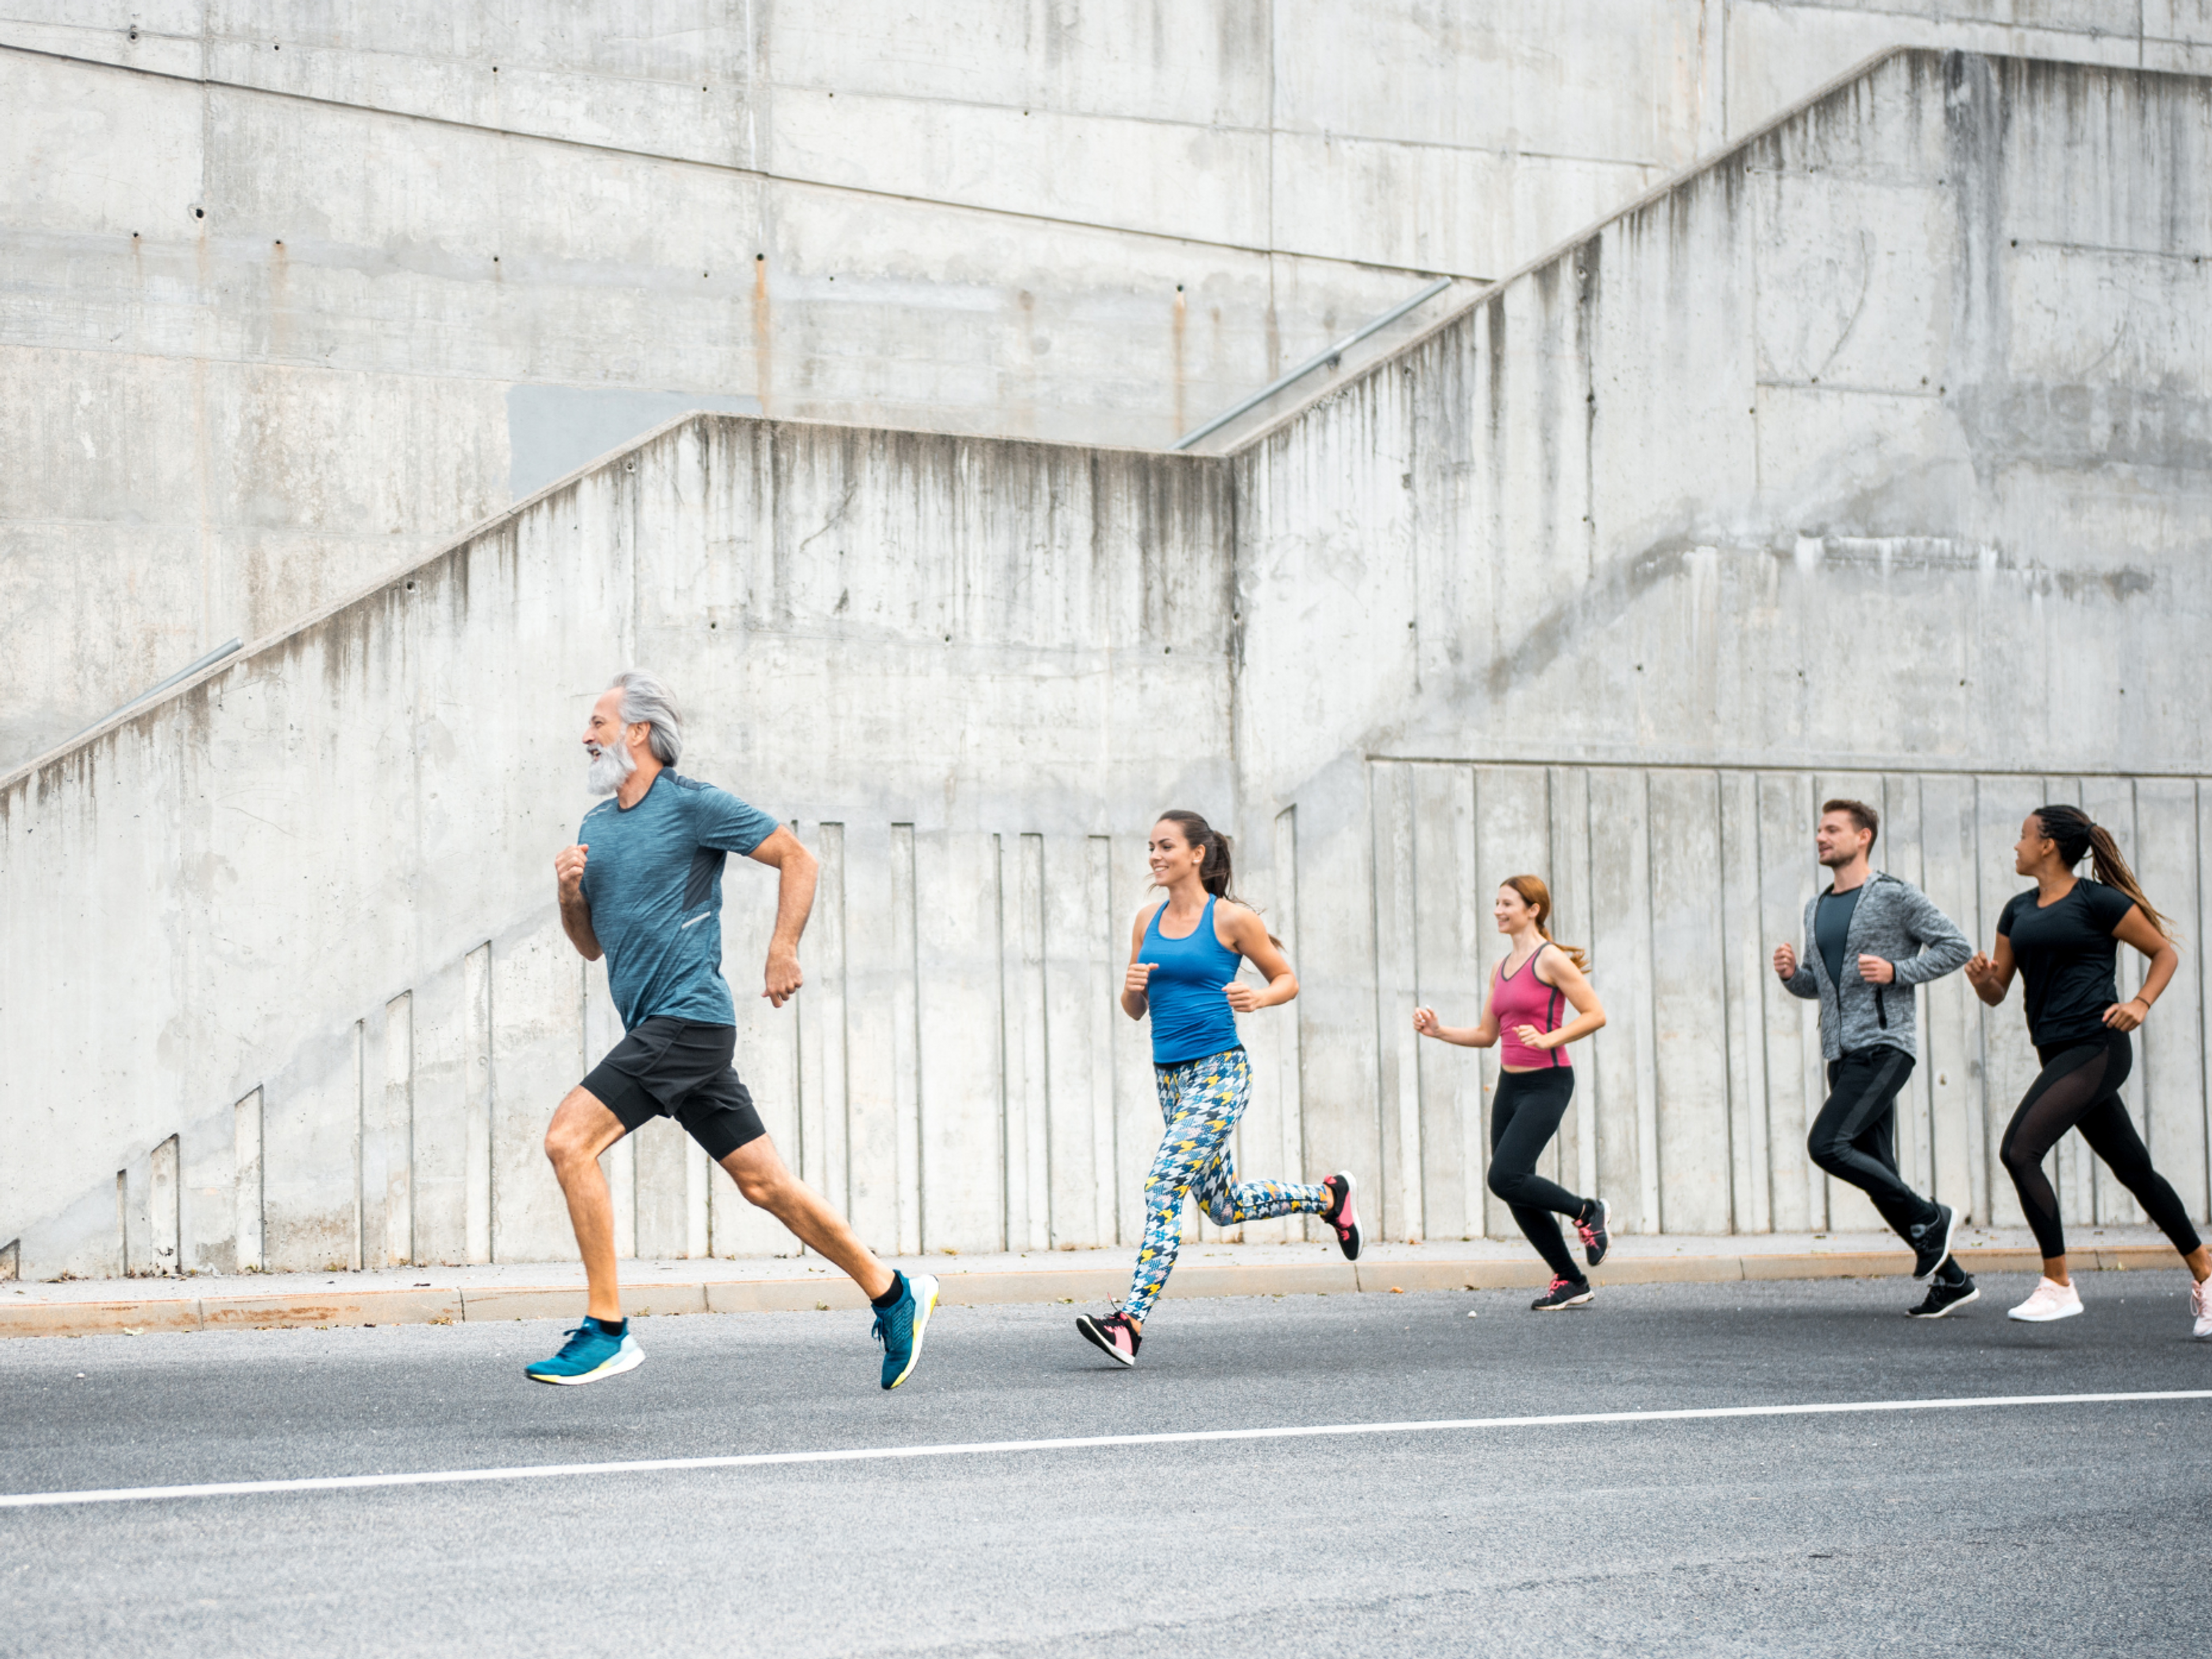
Hopefully, this article has helped you understand how to start your recovery and move forward, so you can start thinking about your next big race again.


- Kim Van DeventerDec 20, 2022
- Kim Van DeventerNov 9, 2023
- Sabrina BurkartJun 13, 2023
- Kim Van DeventerNov 18, 2022